
Get it right on night one.
Two things decide whether Airlift works for you: which clip you wear, and where your stickers sit. Sort both out in front of a mirror while it is still light. After that it is a routine you stop thinking about.
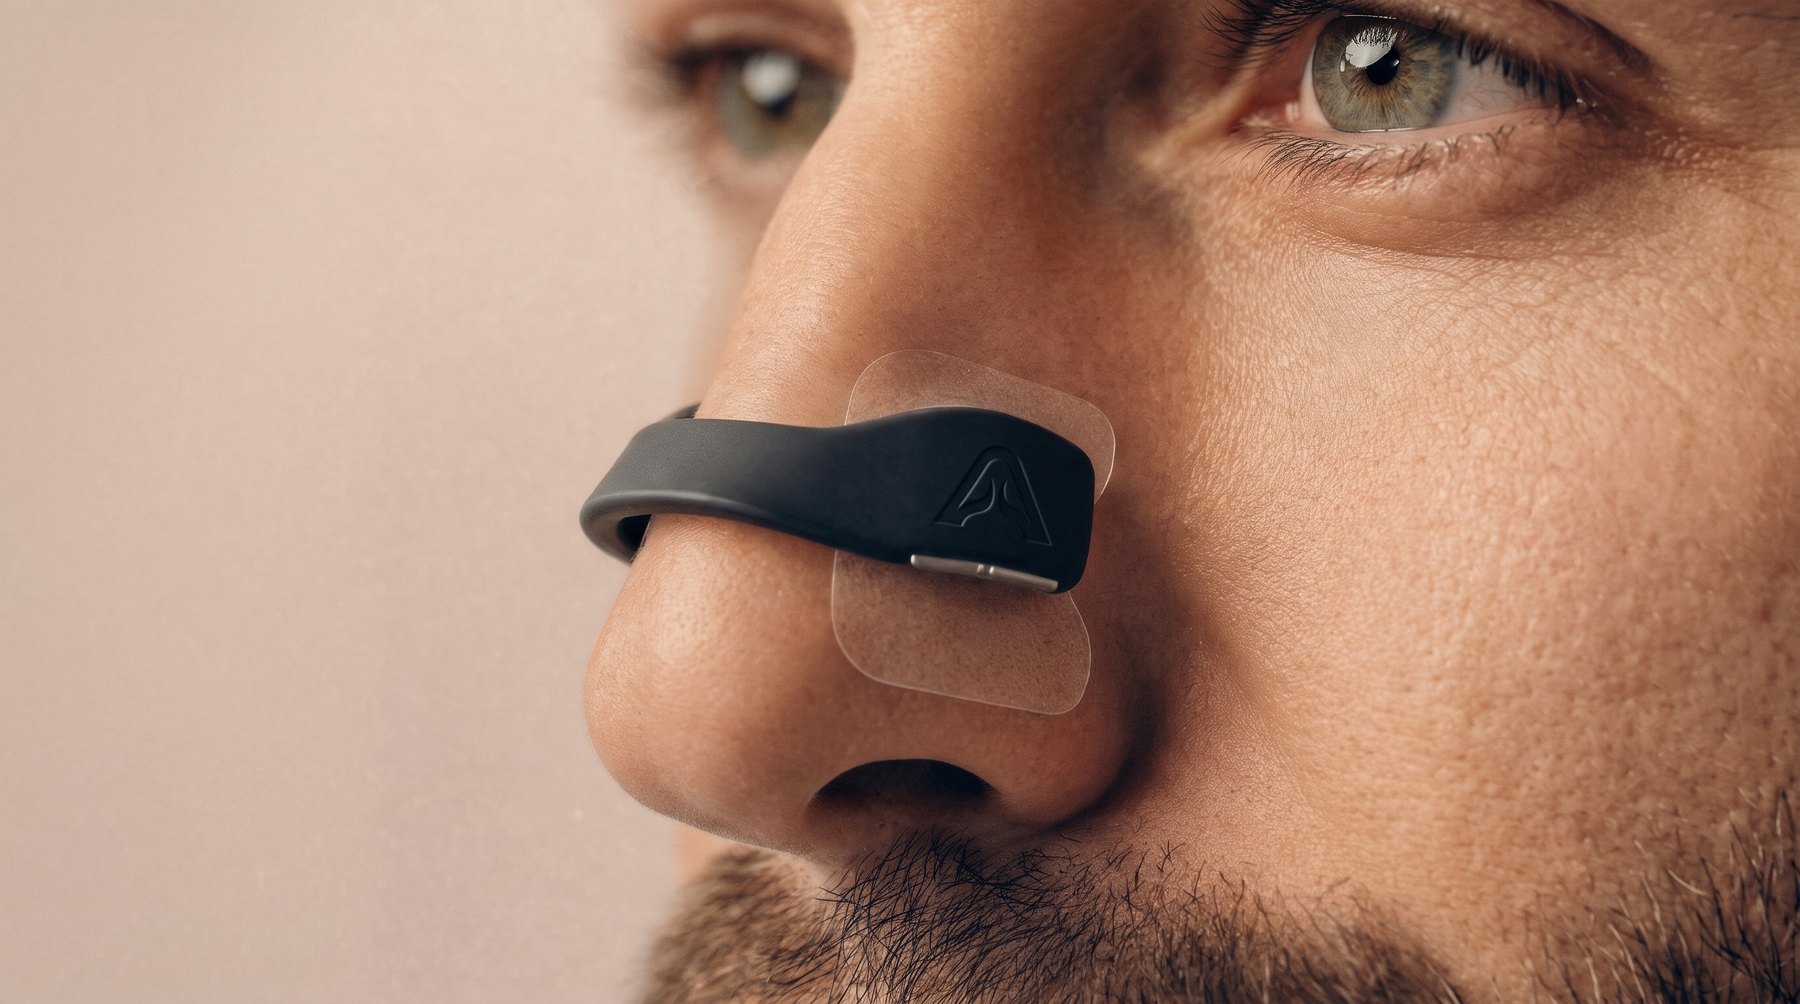
Hold a clip to your nose before you open a single sticker.
Your kit has all five sizes, XS to XL. Getting the size right does more for your first night than anything else, and it takes about a minute.
- Hold the centre of the clip between two fingers.
- Rest the bottom of your nose between the wings and breathe in.
- Work up from XS and compare. You want the clip that meets each nostril without pressing it shut.
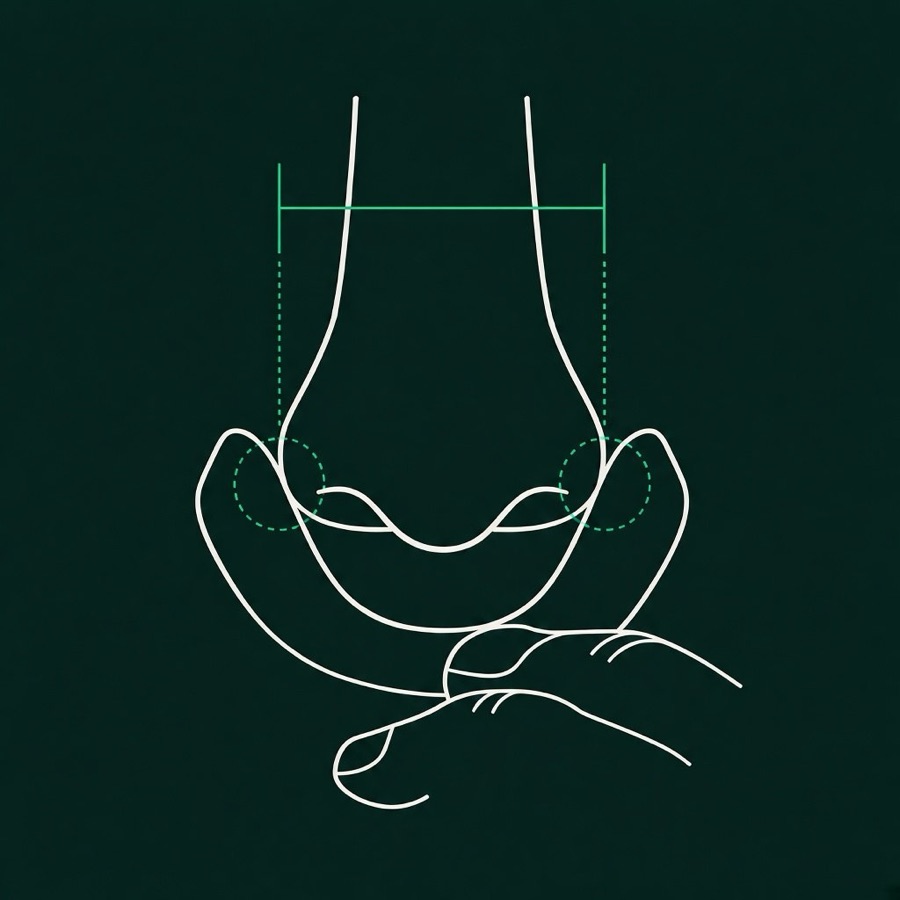
Tap the one that looks like you.
Away from your kit or sizing a spare? Print the paper size gauge. Use it to cross-check, since a real clip on your nose gives the more accurate reading.
Your stickers go on the middle or lower third of your nose.
The top third is bone, so nothing ever goes there. Two tests, a minute in total, tell you which of the other two suits your nose. Do them before you peel any sticker off its backing.
The middle third
Put a fingertip on each side of your nose, about halfway down, and pull gently outward as you breathe in through your nose. A few times, so you remember how much air you got.
The lower third
Rest a fingertip under the tip of your nose and lift it gently as you breathe in. Again a few times, so you can compare the two honestly.
Your stickers go wherever the test gave you more air. Most people feel a clear difference, and if you cannot tell them apart, start with the middle third.
If you have worn Airlift in the middle third for a while and noticed little, give the lower third several nights before you decide. For some people, moving down a third is what makes Airlift work.
The routine, including the wait nobody mentions.
Do the steps in this order. The wait at step 6 is what keeps the stickers on your nose all night instead of on the pillow.
A nasal rinse, then blow your nose properly. The clip holds your nostrils open but will not clear them, so start the night with clear passages.
Warm soapy water, with real attention on the sides of your nose and your T-zone. That is where the oil that defeats the adhesive lives.
Towel the sides of your nose with purpose, then give it another minute or two in the open air. Skin that feels dry to a quick touch often is not, and damp skin is the most common reason a sticker lifts.
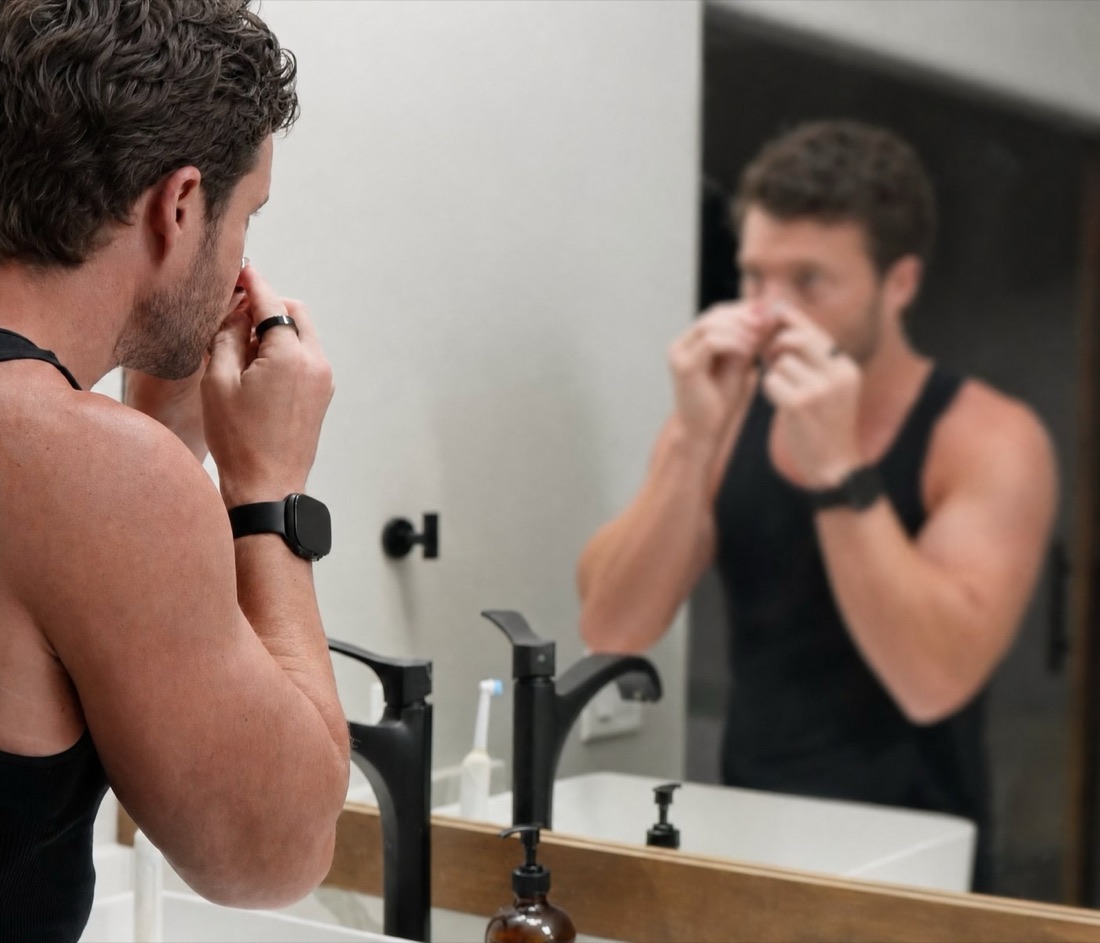
Use the mirror and put each sticker exactly where your zone test said. If one lands wrong, peel it off and use a fresh one: a lifted sticker holds noticeably less.
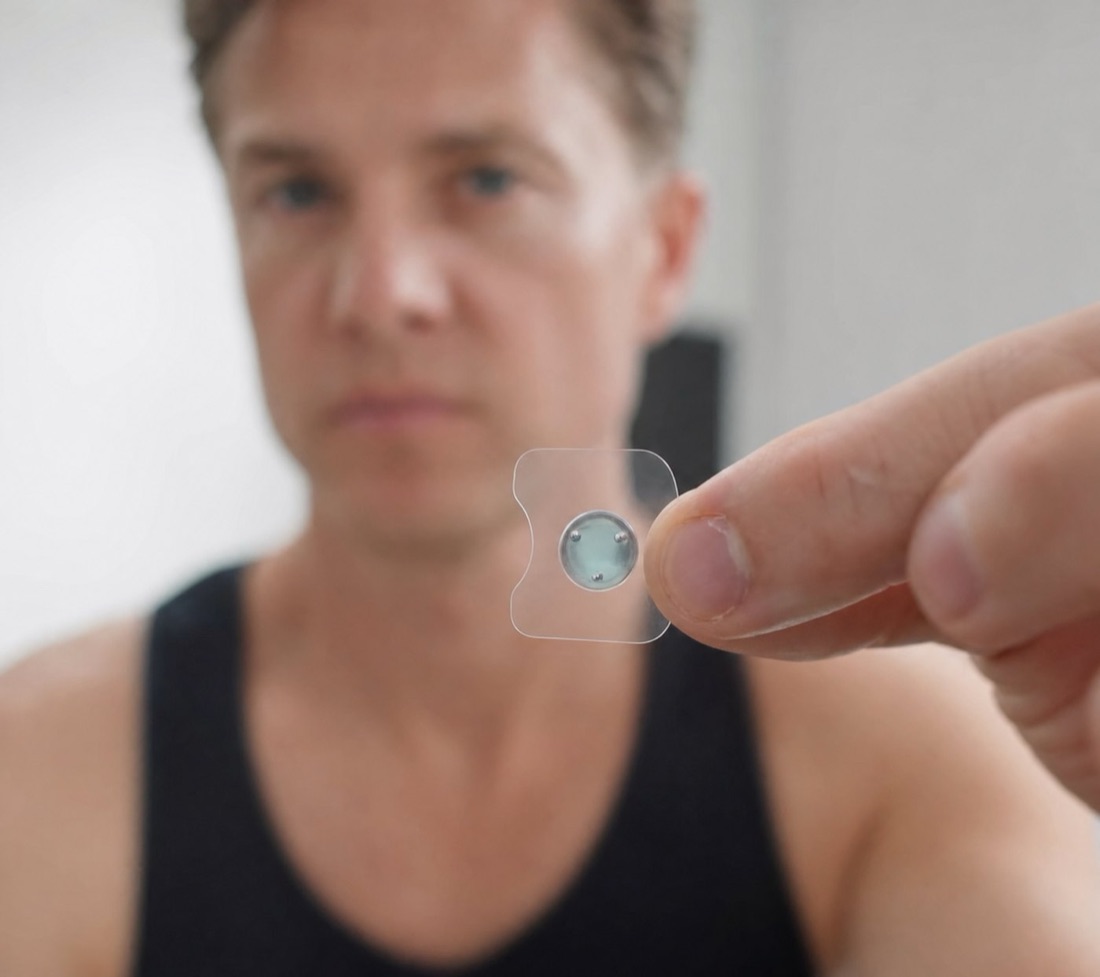
Press each sticker firmly for a few seconds. Work the edges and press the steel disc in the middle too. Warmth and pressure are what make the adhesive bond, and almost everyone rushes this step.
Let the adhesive set before it has to hold anything. Brush your hair, set your alarm, then come back. Clipping on straight after pressing is what pulls a sticker half off before bed.
Slide the clip on and let the magnets find the discs. Do not put creams, oils or sprays on your nose afterwards.
Brush your hair, set your alarm, come back.

Step 1 of 7 · Rinse, then blow your nose properly.
Two things to check in the mirror.
These two mistakes are behind almost every uncomfortable first night. Each takes a second to spot.
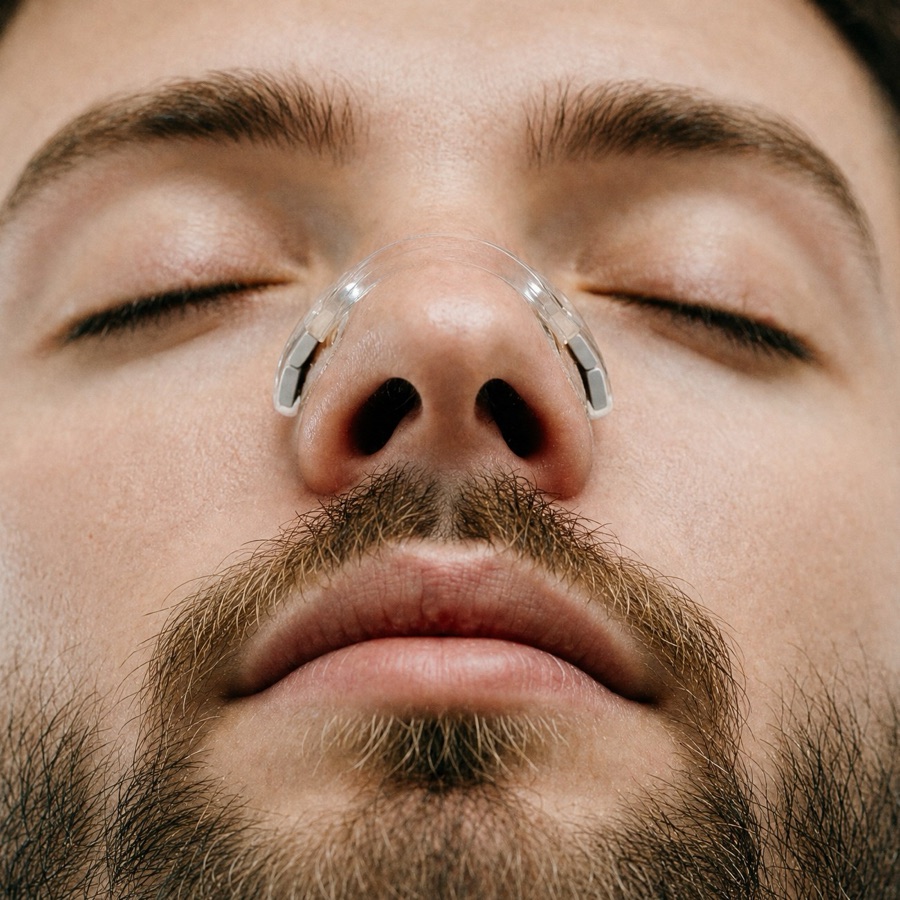 ✓ Level
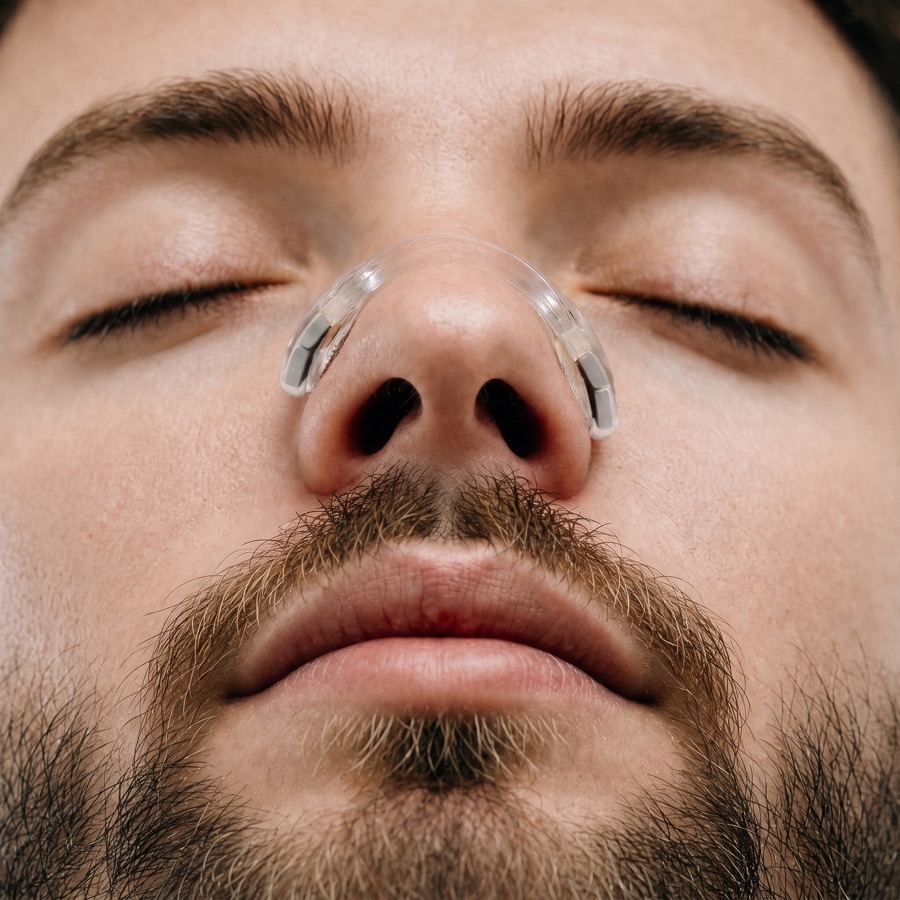 ✕ One higher
Are the two stickers level?
A crooked pair tilts the clip up onto the bone. Peel the high one off slowly and place a fresh one. Do not try to slide it.
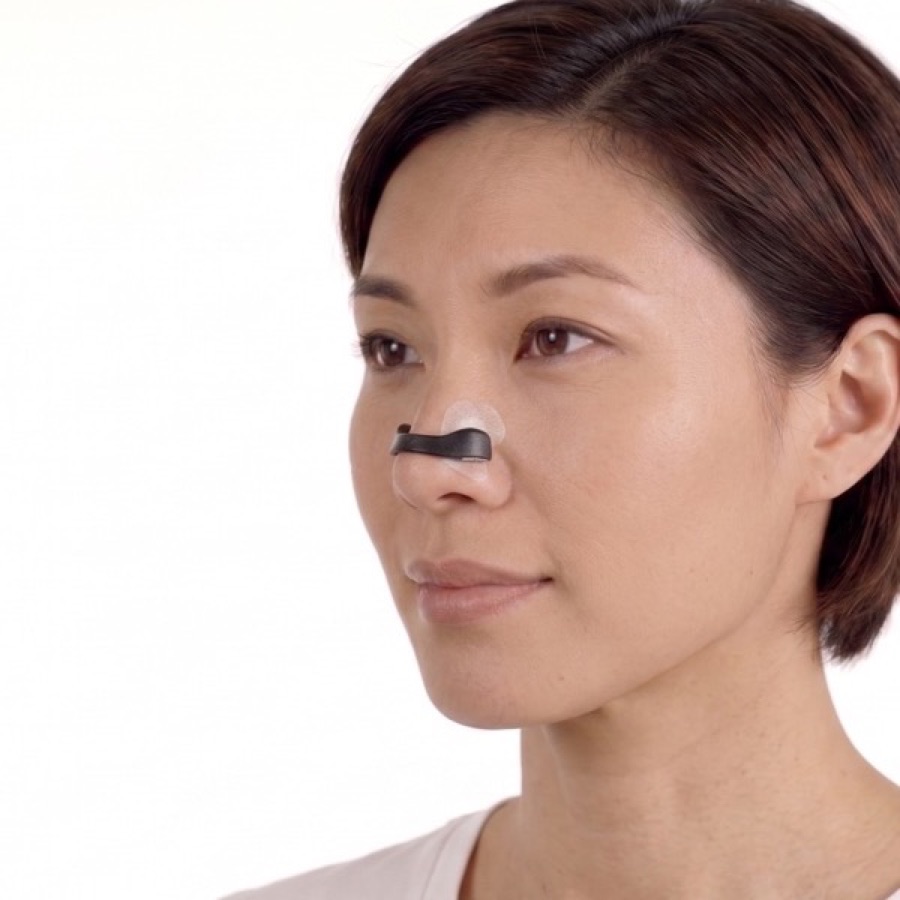 ✓ Low, on the soft part
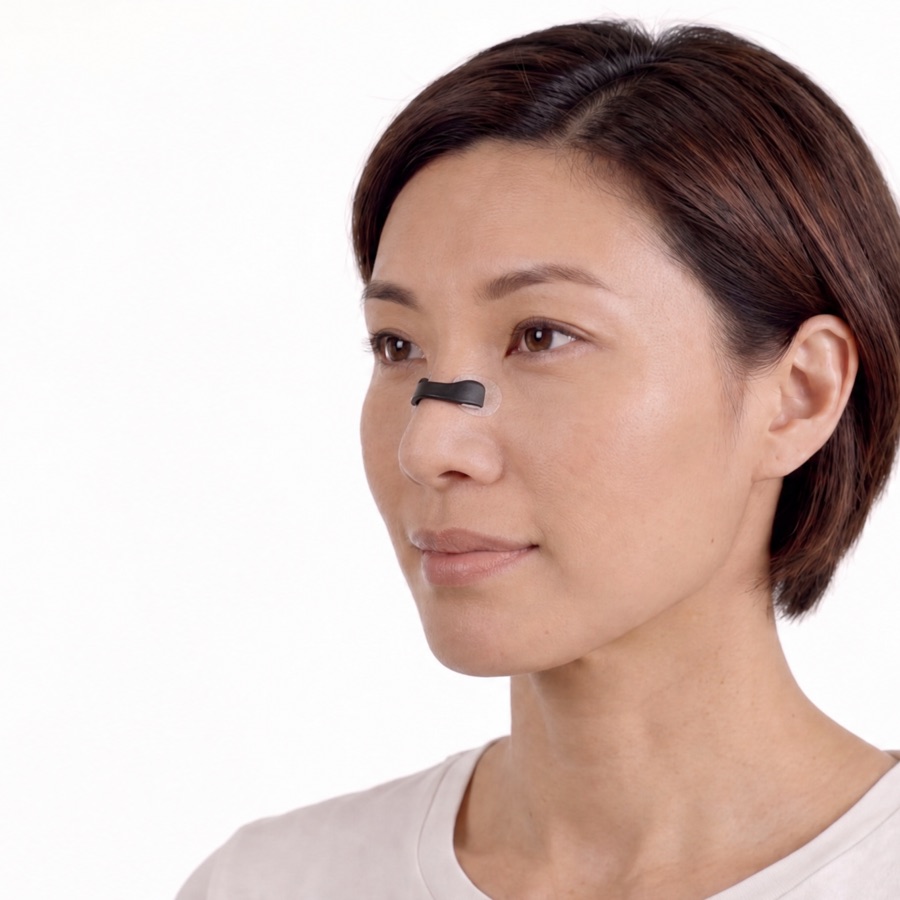 ✕ Up on the bridge
Is the clip sitting low?
Low is right. If it presses on the bone, the stickers are too high: take them off and place the pair lower. Nudging the clip down will not fix it.
Some of this looks like a problem and is not.
Three things surprise people in the first fortnight. Each one has a point where it stops being normal.
The mark
A light red mark where the clip sat, gone within a couple of minutes.
Broken skin, a cut, or a mark still there hours later. Change size, adjust placement and give the spot a night off.
The clip
It comes off in the night now and then, less often as your size and placement settle. The stickers usually stay put, so push it back on or find it in the morning.
Still coming off most nights after a couple of weeks. Recheck your size and your zone.
The feel
You notice it for the first few minutes, then you stop.
Pinching, pressure on the bone or soreness in the morning. Fix your size or placement, because you should not have to get used to it.
When it is not working, it is one of four things.
They are listed from most to least common.
Slide the clip off sideways and the stickers stay where they are, so you can try two or three sizes on one pair.
The most common cause by a distance. Moisturiser, facial oil, naturally oily skin, or skin that was still faintly damp. Go back to steps 2 and 3 and be stricter than feels necessary.
Back to the routineEither the wrong third of your nose, or the right third but too high, too far forward, or not level with each other.
Redo the zone testRedo the dry fit in daylight. It takes a minute, and it is worth repeating after a week of wear because your judgement gets better.
Redo the size checkFinding your exact spot takes a couple of weeks of small adjustments. That is normal, and it does not mean Airlift is wrong for you.
Ask us for helpMore specific problems, each with a fix in Help
Take it off slowly.
Pink skin for a few minutes is normal. Sore, broken or still red hours later is not: give that spot a night off, and if it continues, email us.
Clip off sideways
Slide it off to the side instead of pulling it straight off your face.
Peel low and slow
Peel from the top edge down while a finger supports the skin. Never rip it off like a plaster.
After washing, or in the shower
Warm water softens the adhesive. Any residue comes off with warm soapy water.
Stickers are single use. The adhesive picks up skin oil on the first wear and holds noticeably less on the second.
Refills and sparesStill stuck? Ask us.
Email us with your order number and what you have tried so far, and we will help you get the fit right. The Help centre has fixes for the most common problems.